My New Blog: TF Workshop

Saturday, August 26, 2006

Cabinet Face Frames

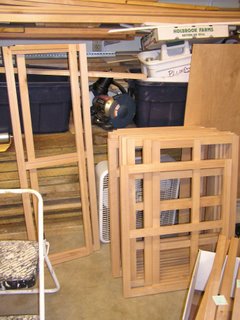
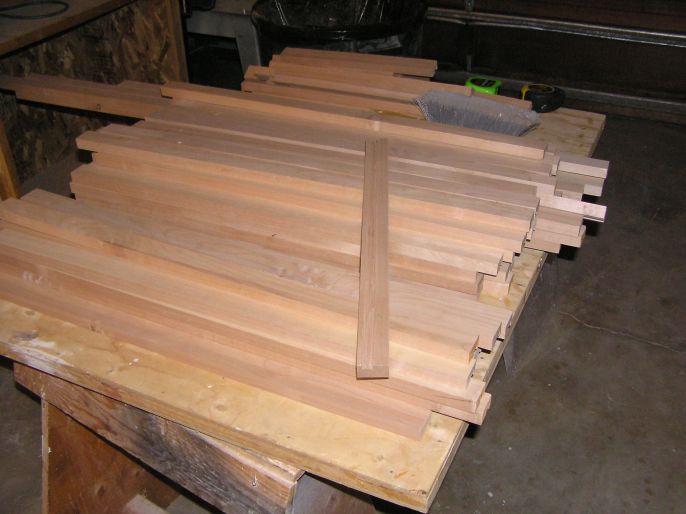
I completed most of cabinet face frames today, using the assembly technique I gave below. I will do the final one tomorrow. Once complete, I will start on the plywood for the boxes.


Since I used a planer on all the wood surfaces, I only need to give them a light sanding. For the cherry cabinets, I am going to use Minwax Sedona Red stain.


Once stained, they will need another light sanding, then a second coat of stain. After that I will seal them with 3 coats of Mixwax Polycrylic.

Friday, August 25, 2006

Hutch Design

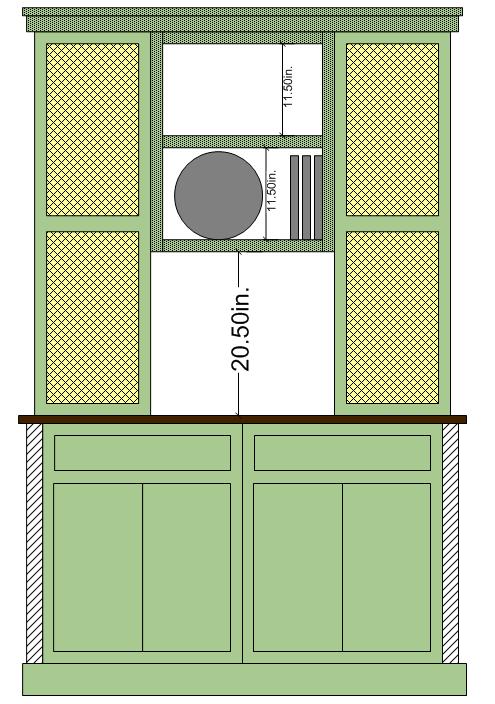
We decided on the final hutch design.
  • The design mirrors the island
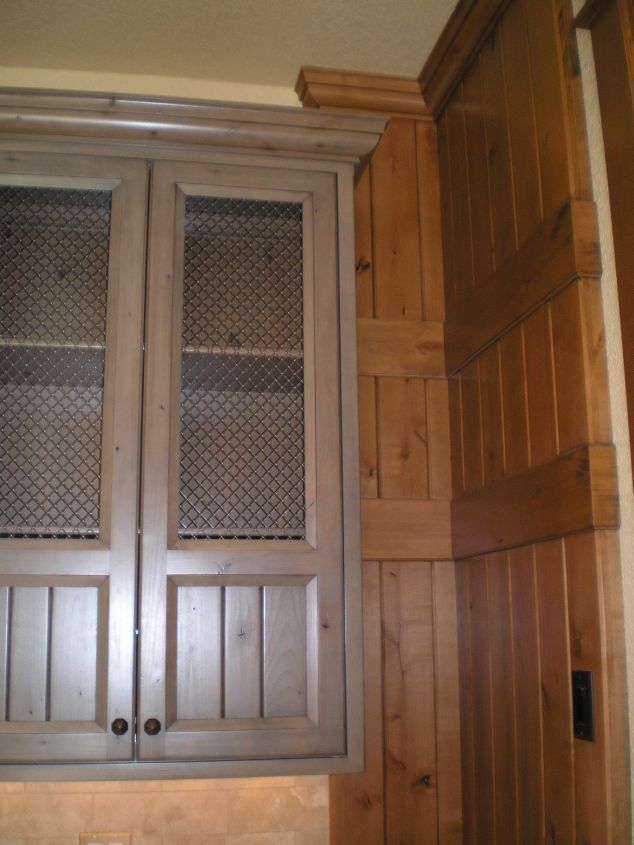
  • The upper cabinets will have pewter screen for panels
  • The center will have open plate racks and bead-board backs

I already have the rough face frame wood cut and the doors purchased. I will assemble the face frames and hopefully cut all the plywood pieces this weekend.

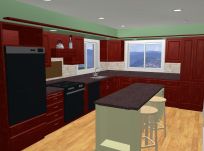
Updated Kitchen Model

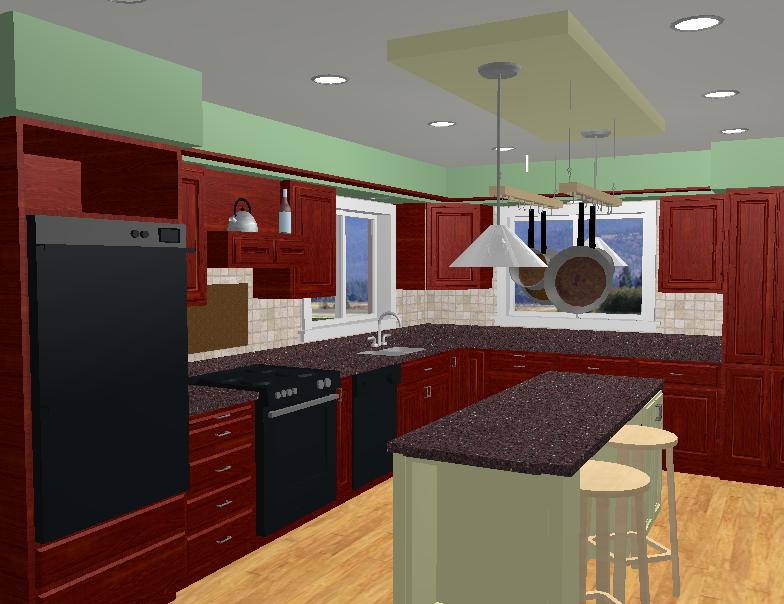
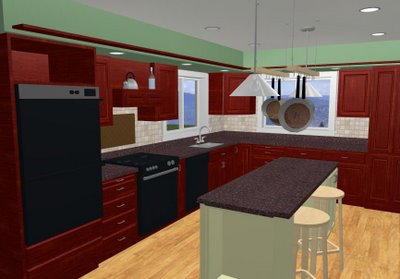
I updated the kitchen model (created in Home Designer Suite 6), adding lighting and other details. It really help to be able to visualize the plan.

Sunday, August 20, 2006

Cabinet face frame cuts

I cut all the face frame lumber.
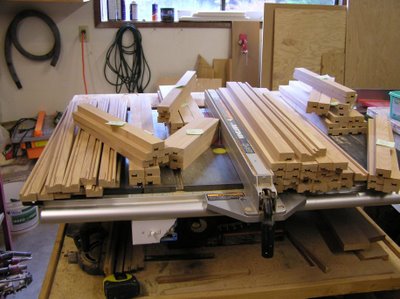

The standard height of all the cabinets boxes is 30 inches.
  • Standard uppers are 30 inches for a room with an 8 foot ceiling. You can go higher, but the top shelves are not reachable without a ladder.
  • The bases are also 30 inches, plus the kick-plate below at 4 1/2 inches, and the counter top at 1 1/2 inches. This gives a total of 36 inches.
Some details about the face frame construction:

The face frame lumber is all 1 1/2 inches wide and 3/4 inches thick. There are 1/2 wide and 1/4 inch deep dados in the back to allow solid connection to the cabinet boxes. Cutting the dados is a bit of work, but makes assembly much easier. It also creates a very strong cabinet

I am assembling the frames at the corners with a couple of 1" staples and a 1 1/4 screw. The staples align and hold the pieces together, and screw reinforces it. I cut a small shoulder next to the dado to make shooting in the staples easy - again, a little extra work up front that ensures everything will go well.

Here is a picture of the assembly on some scrap pieces:
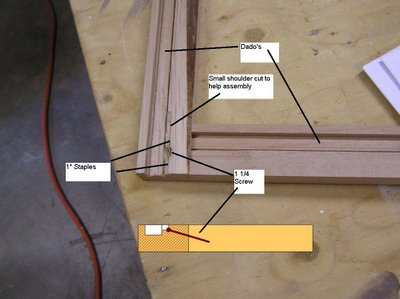
I am not using any glue on these joints. The holding power you get with glue on this minimal, and any glue that bleeds out of the front of the joint is going to cause problems when staining the wood. The cabinet boxes will be glued and stabled into the dados, which will give plenty of strength.

Getting all this lumber cut from rough to "ready to go" took about 10 hours total.

Saturday, August 19, 2006

Change the Island and Hutch Color

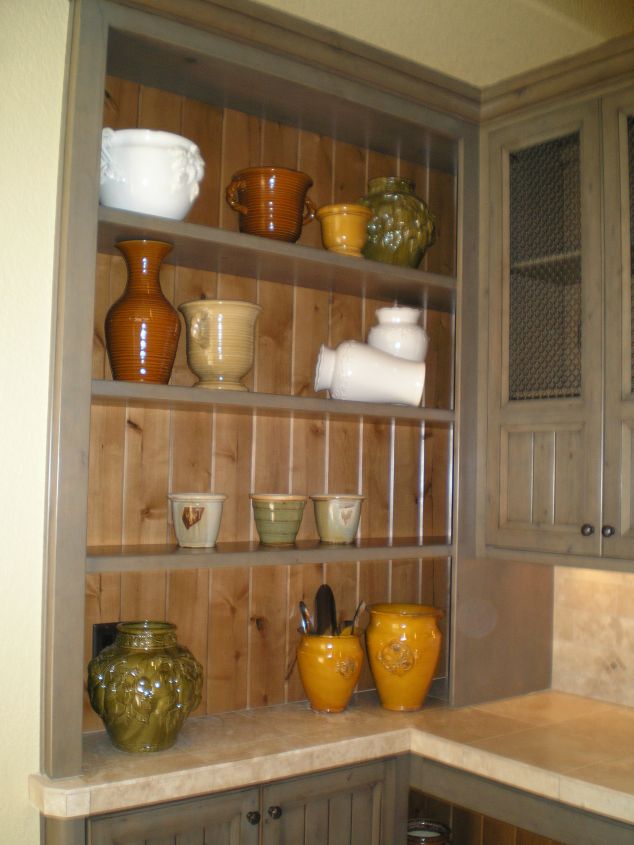
After the street of dreams tour, we decided to change the color of the hutch and island to green - similar to below. We are also going to put mesh in the upper hutch cabinets.


Started Working on the Cabinets

I cut, planed and dadoed all the lumber for cabinet face frames. Set-up, milling and clean-up took me about 8 hours - no additional $$, just work.


What tools do you need make cabinets?
  • Table saw
  • Jointer / planer
  • Chop / crosscut saw
  • Air compressor
  • 18 gage finish nailer
  • 18 gage stapler
  • Drill
  • Various hand tools
  • Latex paint sprayer (air compressor driven) - optional

Once I start making the cabinets, I will take detailed pictures to show how its done. It is not simple or easy, but very doable if you are moitivated and willing to learn how.

New Cabinet Doors Arrived

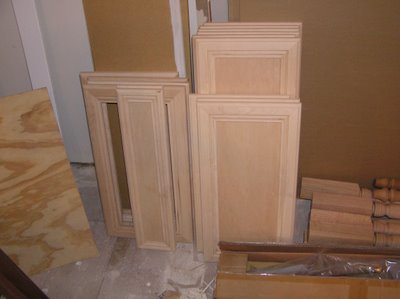
The cabinet doors for the new island and the hutch we ordered arrived. They are exactly to specifications and look to be good quality.

We ordered them from Cabinet Door Depot. They offered a really good price for custom doors, and the delivery was two days early.

  • Island Doors 6 - 11.375 * 28 inches - $22.17 each
  • Hutch Lower Doors 4 - 11.375 * 22 inches - $17.85 each
  • Hutch Upoer Doors 4 - 12.5 * 22.5 inches - $18.16 each
  • Hutch Drawer Fronts 2 - 23 * 5.5 inches - $20.00 each
  • Shipping & Handling was a flat $10

Total cost: $327

To customize the doors, we are adding wood appliques in a grape pattern.

These are pressed from hardwood plywood - since the doors will be painted, this won't be a problem. We bought them at Lowes, 2 for $15. We bought 10 of them for a total of $75. They are a little bit spendy, but add a nice custom touch.

Grand total $400

Sunday, August 13, 2006

Kitchen Design Software

I purchased Better Homes and Gardens Home Designer Suite 6.0 for $99 at Fry's (same price on line). I have used Punch and Visio - this package seems to be much better. It takes a little bit of time to figure it out, but once you get it, you can do a lot. Here is an updated picture of the design.


This has been really helpful for my DW and I to make deicisions. It gives us a better understanding of just how things are going to look. Part of keeping the remodel to $10K is not making any major mistakes...

Applicance Lift for the Island

We are installing an appliance lift in the island - the design is in the previsous post. The one that gets the best reviewes by far is the Rev-A-Shelf 60lb lift. It basically takes a full cabinet, but we decided it was worth it.

We are putting a wider shelf on ours than is shown below, at 20 inches. This will allow us to both the kitchen-aid mixer and a food processor on it.

The best overall price for it is from Rockler at $95 direct from their local store, no shipping. I did find a couple of online ones for $90, but the shipping made them about $100. Besides, if I can just buy it, I will - if there is a problem I can return it easily.


Wednesday, August 09, 2006

Island Design

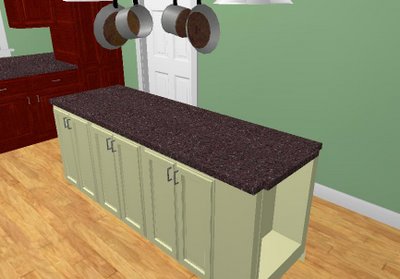
Here is the final island design...


Layout:

Rendered image:


Details:

  • 30 inches wide x 90 inches long
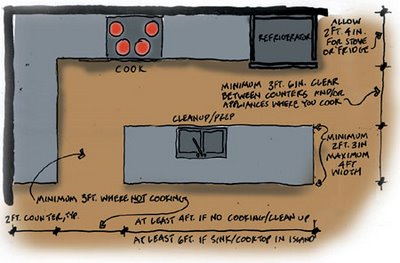
  • 42 inch clearance to counter with range, 36 inch clearance to the wall on the other side
  • Oak and alder wood, painted off-white and then glazed to antique
  • Bead board for the interiors, backs of cabinets
  • Spot for two stool
  • Applicance lift
  • All pull-shelves
  • Display shelf on the end toward the dining area

I used the following diagram for clearances. I found it posted on the Fine Homebuilding web site.

Tuesday, August 08, 2006

Backsplash Design

We went to the Portland area Street of Dreams to tour the showcase homes and hopefully get some ideas. Most of the designs are much too "over the top" for us, but we found some great details we are going to use in our remodeling plans.

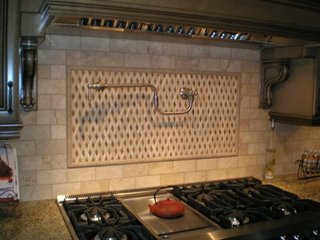
We found our backsplash inspiration: brick-pattern background with a basketweave design framed beind the stove. Our stove will not be as wide as this, but we should be able to properly scale it down.

We have not decided on the material yet - it will likely be travetine stone or Italian porcelian tile. To keep the cost down we will buy 12x12 tiles and cut them with a wet-saw. I have a 1 HP tile saw from Harbor Freight (link), which works great.

The pot-filler faucet will also be part of the design. This is part of our strategy, to add in high-end features (similar to the drawer slides we are using) to make the kitchen really stand out.


Tile saw

Appliances

Appliances are the single most expensive items in this remodel (granite would be more, but we are doing it ourselves - more to come on that later).

After doing the research (my wife is the expert here), we settled on higher-end Sears Kenmore. We have had Kenmore in the past, and we were happy with the quality.

On a negative note, the service we received at Sears for the appliances was overall pretty poor. Their sales people were not that well informed on thier merchandise. They didn't seem to be interested in getting us what we really wanted, but making a sale.

After going back and forth, we picked the black ones instead of stainless. We currently have white, but the ceramic cooktop we wanted did not look good in white. Also, black added a some class alsong with the cherry cabinets. We did not go with stainless, since it is a chore to keep clean with kids running around (we have four).

One open item we need to work through: we have a white fridge inset into the wall on the othe rside of the kitchen. We will need to see how the budget goes...

Total $3264