We choose the Insinkerator 444. It is 3/4 HP and sound insulated, all for $130 as a special buy at HD. The online prices are $129 to $179 plus shipping, so HD was a good way to go.
So far so good, its running like a champ.


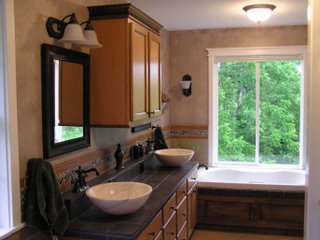
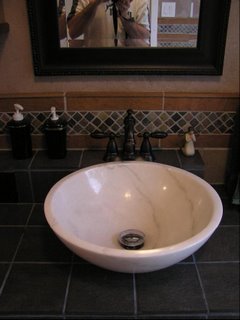
Since the tiles come with 1/4 round-over, polished ends, we only needed to get the sink and island edges ground and polished. Crowley's Tile Edging did the work for $230, which I thought was really reasonable. It was $15 per foot for round edges and $10 for flat. The edging will end up looking like the the image below.

We will use epoxy grout, costing about $25.
Cost roll-up: $1510
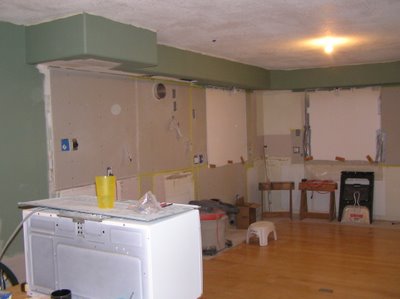
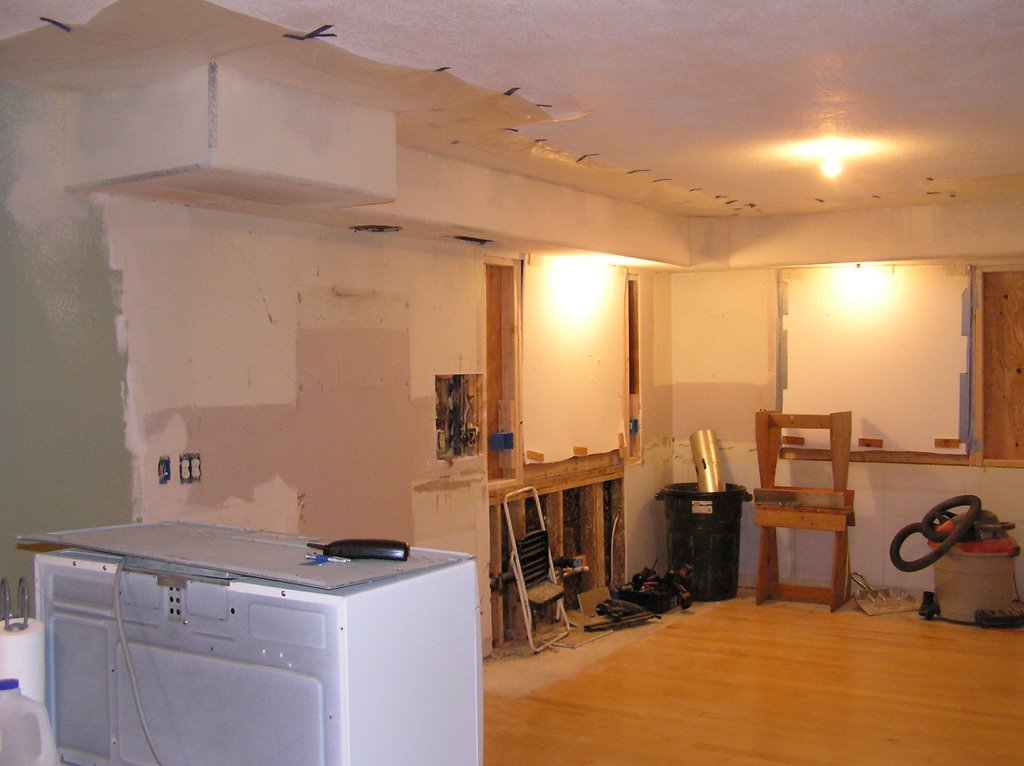
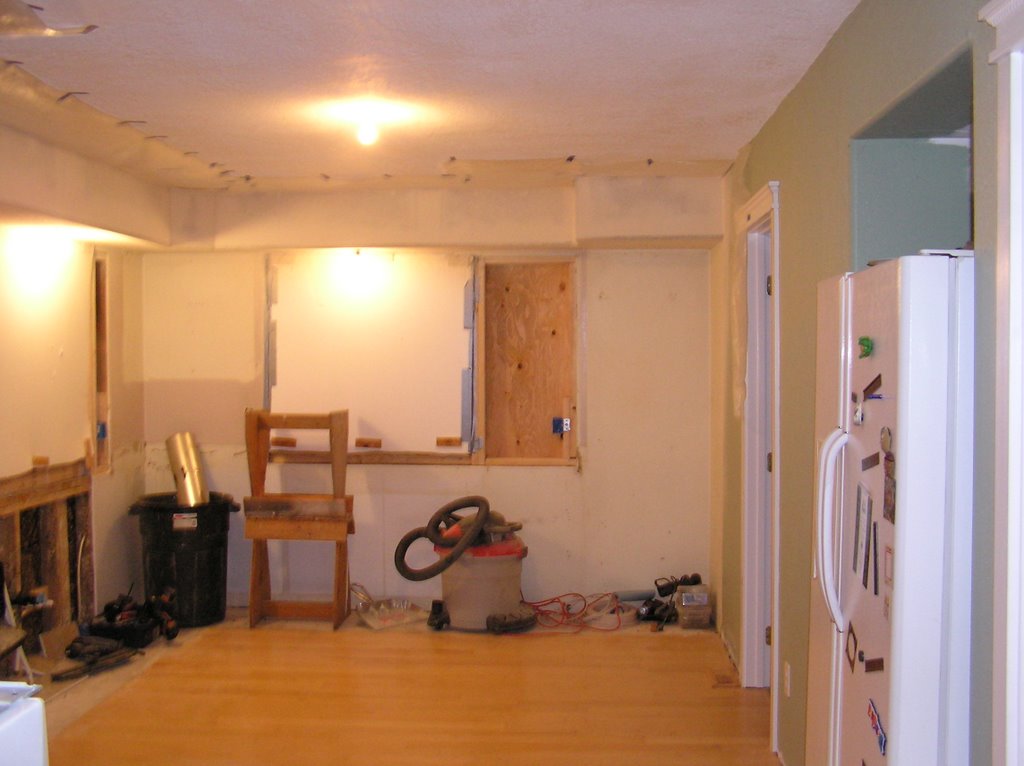
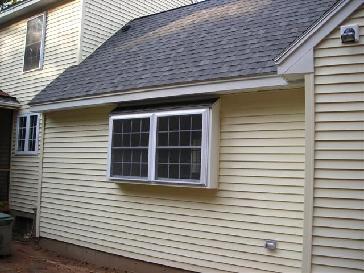
I have been waiting for the weather to break for about a week, but most there has been rain. I decided that I needed to get the new windows in anyway - I need to go back to work tomorrow. The rain basically stopped as I walked out to get the ladder, and did not start again for about 3 hours!
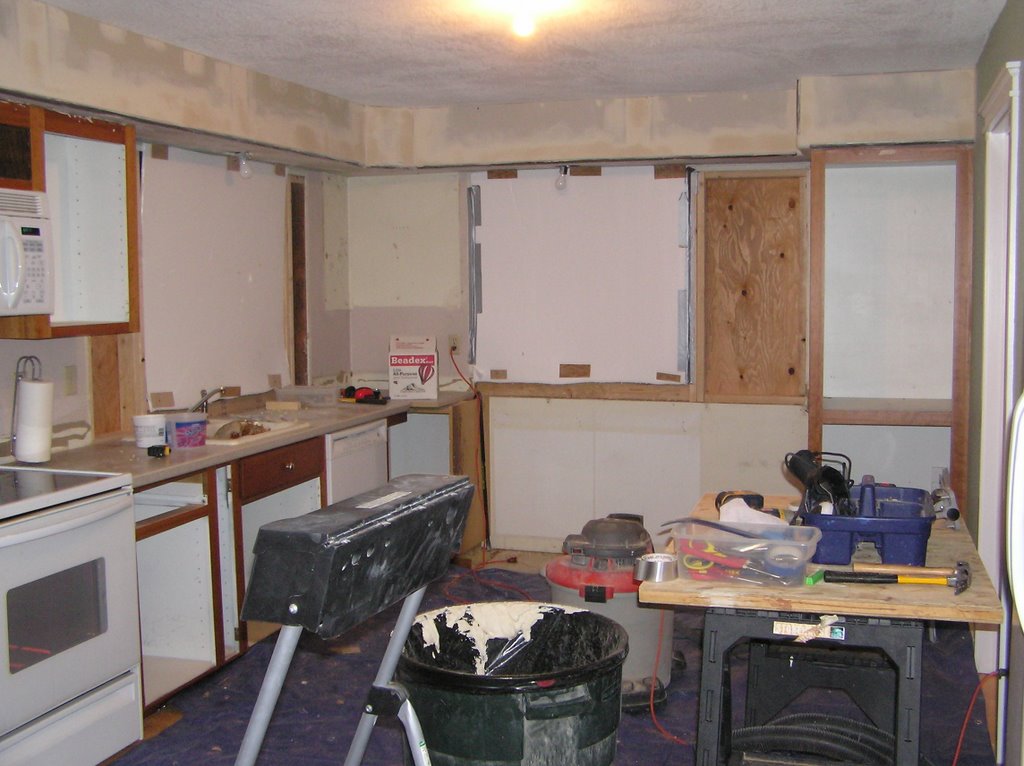
I hoped to get the sink set, but I ran out of time. I am undermounting it beneith the granite tiles, so I need to get it exactly flush with the plywood base. The rim of the composite sink has some variation in its thickness, so I need to individually shim it in about 14 places. I need to figure out a way that this won't take a week to complete.


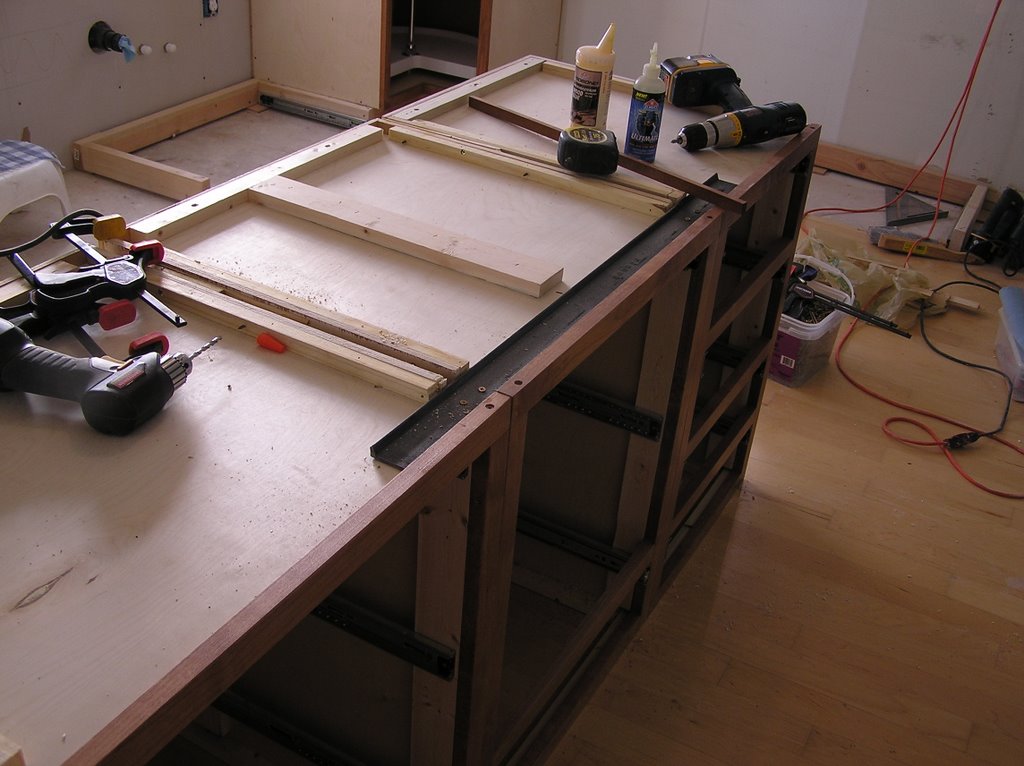
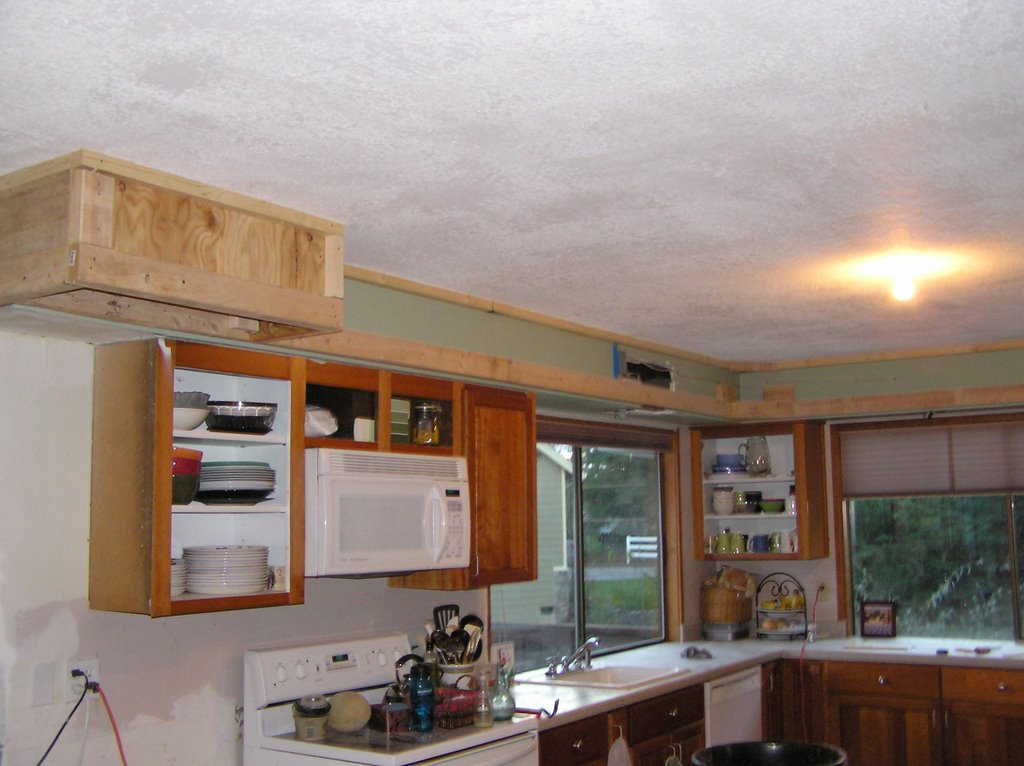
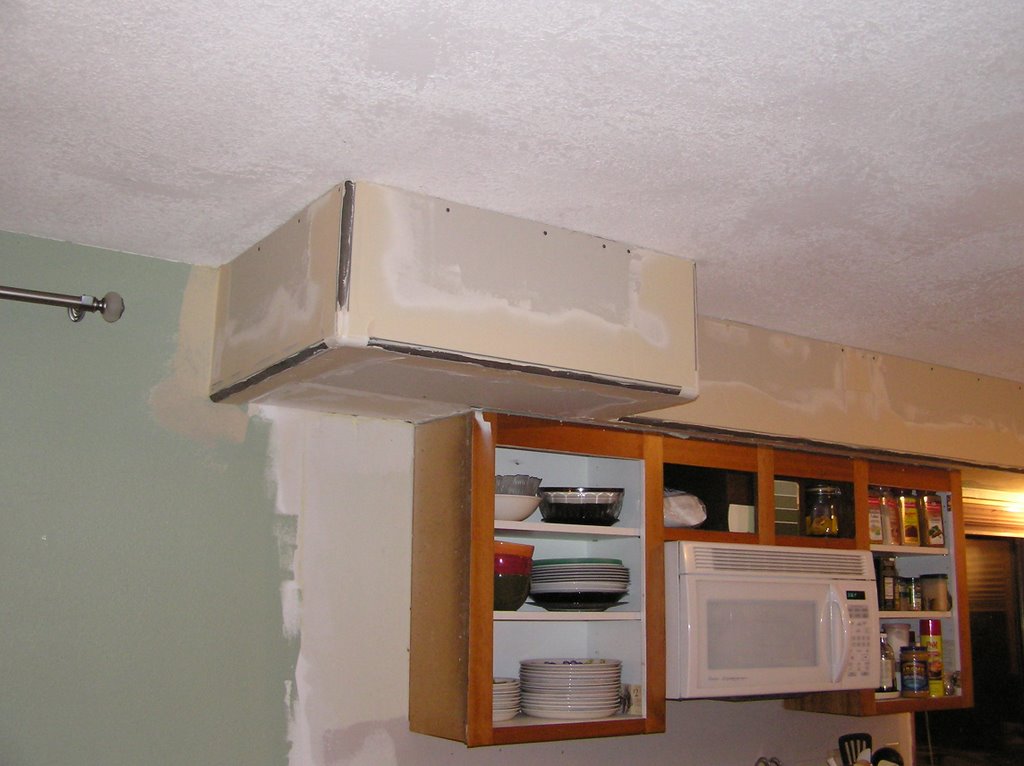
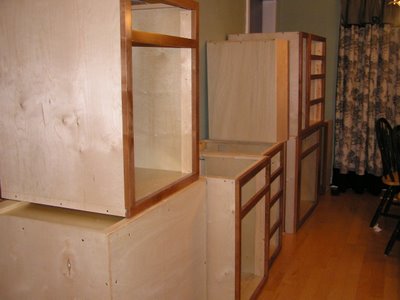
We want to make these drawers as wide as possible. Where the drawer is wider than a single cabinet, I supported the them with a piece of steel channel underneith. These are glued with polyurathane and screwed in place.

Today we finally install the windows (hopefully the rain will continue to break), and start on the cabinets.
All in all, we had a good day and got a lot accomplished.
The granite fabricators took only one working day to finish the edging work, charged me $50 less than I was expecting, and were very friendly - I was really impressed. I will put the details in another post detailing granite costs.
I went to HD to see if my windows came in, since we now have open holes. They told me the delivery date was pushed out to the 26th, so we plugged the rough openings with foam board. They then called and said they just came in! So I will get them in the morning and install them.
What we accomplished today:

Goals for tomorrow:

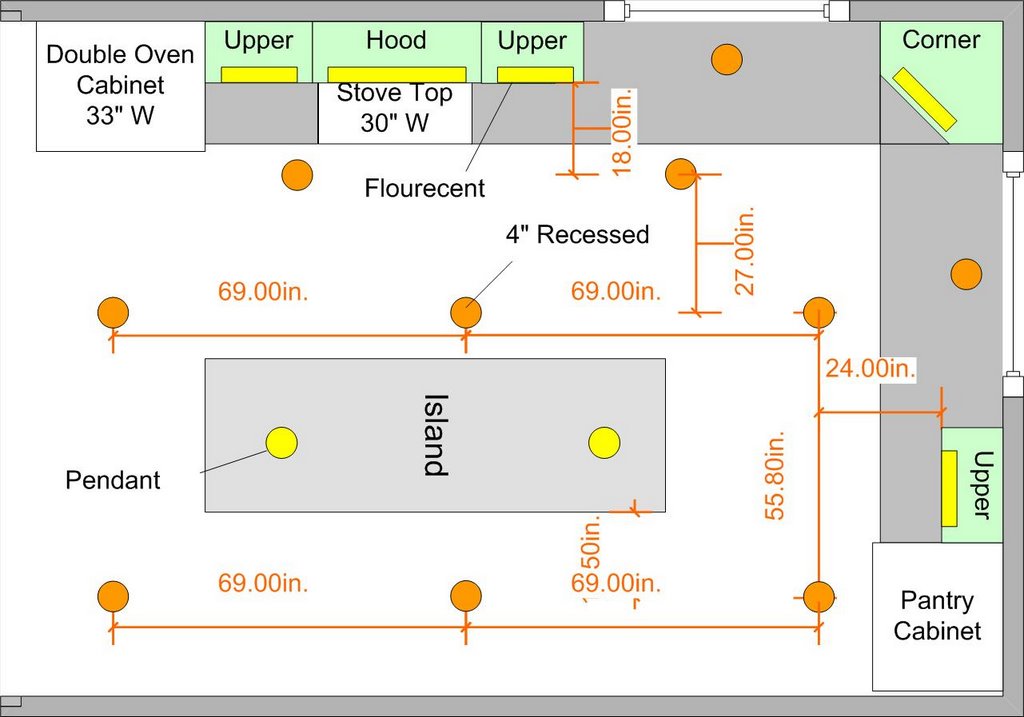
Recessed lighting:
11 x 17 = 189 sq ft
189 sf * 2.75 watts per sf = 561 watts (between 2.5 and 3)
514 watts / 65 watt bulbs = 7.9 bulbs --> 8 lights in the ceiling
Under cabinet:
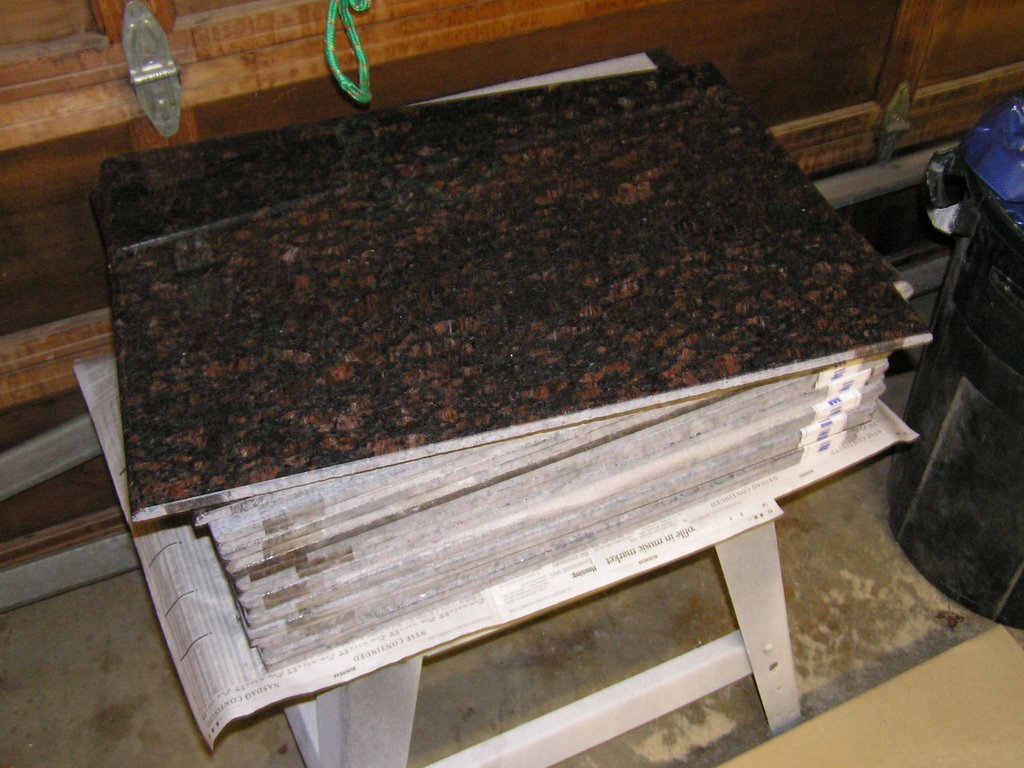
I decided not to try to cut the large tiles on my tile saw - it's too risky. The granite between the blade and the fence would likely crack. At $66 a piece I really didn't want that to happen. I bought a 4" skill saw for tile from HD for $45 (Workforce THD250). The saw worked great - really clean cuts. I cut the sink pieces 1/4 large and then re-cut them on my tile table saw, to get them exact.

I am planning in using polyurathane glue to install the granite. I have used it on tile and slate, and it worked really well. I have installed a fair amount of tile and lots of brick and stone (used to work in masonry), so working with morter and thinset is not an issue. I want to bond the granite directly to the wood, so I dont have to add the 1/2 thickness needed for backerboard and two layers of morter. Also, the poly will bond the granite diretly to the undermount sink, and give good water proof seal. Finally, the poly has an "open time" of at least an hour, giving me the chance to make sure everything is exactly right.
So I did a couple of tests... I bought some cheap pink granite and setup prototypes (yup, I'm an engineer). I tested the bonding strength of granite to plywood and granite edging.

Both work excellent.
I spread the glue on about 1" lines on the plywood. This glue foams up, so it needs some place to go, or it will raise the tile. I let it dry about 8 hours. I broke off the granite edge with a hammer both in the upward and downward directions. In both cases it broke at the glue line - in other words, the glue bond is stronger than the granite itself.
For the edge glue, I tried to break it by hand - no go. I can't break it. I have done a lot of edge bonding like this with thinset - it breaks pretty easily. This is definately a superior bond. I am going to back-up the edge bonding with a piece 3/4 x 1 wood, glued in place.
I will bond the edging to the tile before install. This way I can get them exactly right, and not depend on the face of the cabinet to align them. If you notice a poor tile job, it often is due to the front edging not being quite right.
 I bought a corded version on purpose: having a large battery hanging off the bottom can somewhat defeat the "close quarters" feature. This will be great for mounting cabinets and drilling holes for wiring.
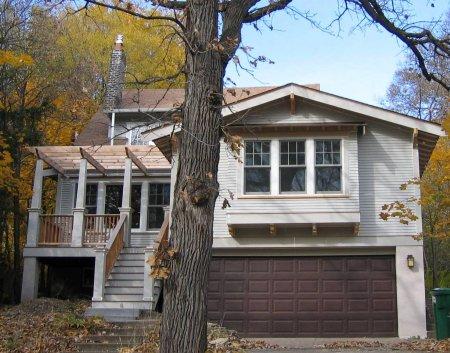
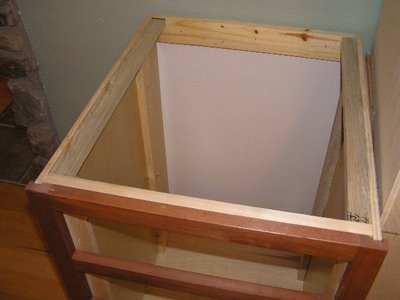
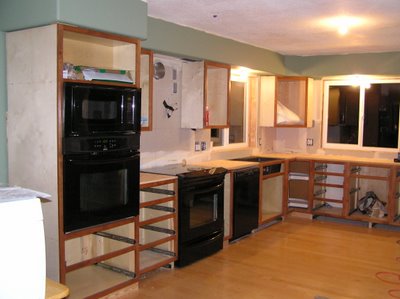
A bit of detail on the cabinet design: I have 1x3 (actually 3/4 x 2 1/2) strips running down the side-walls. These will allow the drawer and shelf slides to be flush with the face frame edges. An added benefit is that the cabinets are now ultra-stout, and will easily support the granite tops.


Please consider sponsoring a child.
All revenue earned by this blog through advertising is donated to Compassion.

